
Photographing wildlife in rainforest light
Camera settings, focus habits and lens care for photographing birds and animals under a dark evergreen canopy and from a boat on a humid Western Ghats lake.
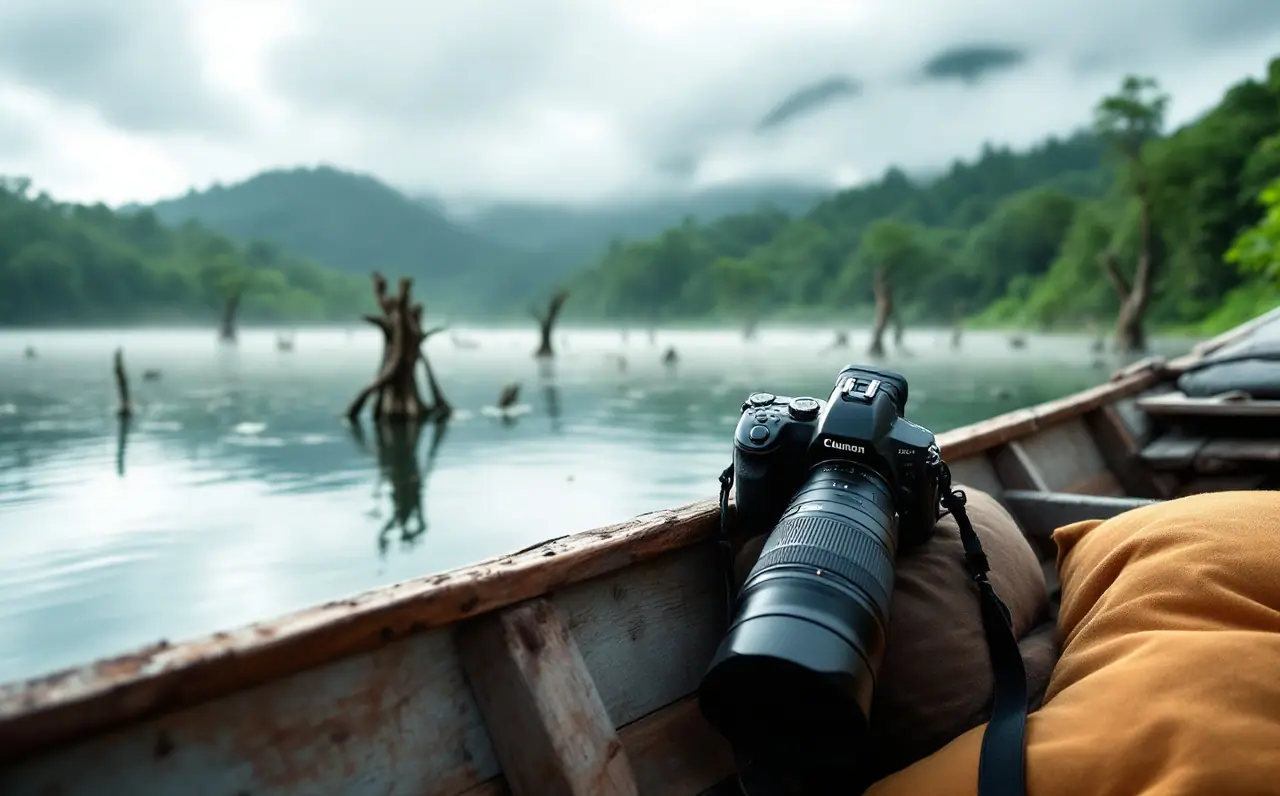
The first thing an evergreen forest does to a camera is take away the light. Walk fifty metres from a sunny road near Thekkady into the trees and the meter drops by three or four stops. The second thing it does is make everything green, because the light reaching a bird or a squirrel has passed through several layers of leaves. The third thing you notice only back in your room: the air is so wet that your lens cap feels damp.
I have photographed forests and their animals as a hobby for a long time, mostly with mid-range gear and a lot of missed frames. This is not a technical manual. It is the set of habits and starting settings I would have liked when I began, for anyone heading to Periyar with a long lens, a bridge camera or a phone.
Two kinds of difficult light
Under the canopy, light is low, patchy and green. A shaft of sun can hit one branch while the bird beside it sits in deep shade. On the lake the problem flips. Open water and sky are bright, and the animals on the shore are often dark: elephants, gaur, wild pig, cormorants, darters. The camera tries to average all of this and usually gets it wrong. Morning mist, which can sit on the lake for the first hour, softens contrast and confuses autofocus. None of this is a reason to stay home. It just means making a few decisions yourself.
High ISO is your friend, within limits
The most common mistake I see is protecting ISO at the cost of shutter speed. A clean, blurred photo of a Malabar grey hornbill is still a blurred photo. A slightly noisy, sharp one can be cleaned up later.
Under a dense canopy, ISO 3200 to 6400 is normal on a recent full-frame or APS-C body, and many go higher with acceptable results. Smaller sensors in bridge cameras and phones reach their limit sooner. Spend ten minutes at home photographing something in a dim room at different ISO settings and look at the files at full size. That tells you where your own ceiling is.
My usual approach is manual exposure with Auto ISO. I choose shutter speed and aperture, set a maximum ISO I can live with, and let the camera float the ISO as the light changes. Exposure compensation then nudges the result. Shutter priority with Auto ISO works too. Full auto tends to pick a slow shutter in dark forest, so I avoid it. Shoot raw if you can: green casts, deep shadows and noise are far easier to handle in a raw file.
Shutter speed starting points
These are where I start, not laws. Your lens, stabilisation and steadiness all move the numbers.
A bird sitting still on a branch, with a stabilised lens, can often be handled at 1/250 second if you are braced. Birds move their heads constantly, though, so 1/500 is a safer default. Small birds working through foliage, such as white-eyes, leafbirds and warblers, need 1/1000 to 1/2000. A kingfisher leaving a stump or a hornbill crossing a gap needs 1/2000 or faster.
Mammals are more forgiving. An elephant grazing on the bank can be photographed at 1/250 to 1/500. A sambar walking, or a giant squirrel jumping between branches, needs 1/1000 or more. Langurs and macaques move in sudden bursts, so I keep 1/800 ready when they are active. In low light, take short bursts of three or four frames: one is usually sharper than the rest.
Exposure compensation for dark animals and bright skies
The meter assumes the scene should average out to a middle tone. Two common Periyar situations break that assumption.
A dark subject against a bright background, such as a cormorant on a stump with pale sky behind it, makes the meter darken the whole frame until the bird is a black shape. Dial in +1 to +2 stops and check the histogram. You lose some sky, but the bird is the point.
A dark subject filling most of the frame in even light, such as a close elephant or a gaur in shade, has the opposite effect: the meter turns black into grey and the animal looks washed out. Try -0.3 to -1 stop. A white egret in sun needs the same treatment for the reverse reason. If your camera has a live histogram, glance at it each time the situation changes.
Back-button focus and getting through the leaves
Back-button focus separates autofocus from the shutter button. A button on the back of the camera starts focusing; the shutter button only takes the picture. In a forest this solves a real problem.
Birds sit behind leaves. With focus on the shutter button, the camera often finds the nearest twig every time you press. With back-button focus you find the bird, hold the button until focus locks, release, and then shoot as many frames as you like without the focus jumping. If the bird moves, press and hold again to track it.
Use a single small focus point or a small zone in cluttered forest. Wide-area tracking happily locks onto the brightest branch. Animal-eye detection works well with a clear view of the head and less well through foliage, so practise a quick turn of the focus ring for when nothing else will lock.
Shooting from a boat
The lake is where many people get their best elephant and bird photographs. Boat trips run under the reserve's own arrangements, which change, so check the reserve's official website or the counter in Thekkady for current details, and follow the crew's instructions about life jackets and seating.
Forget a tripod. A boat moves, a tripod passes every bit of that movement into the lens, and on a shared boat it takes space other people need. Use your body instead: elbows tucked in, left hand under the lens barrel, and a small bean bag on the rail if there is room. If the engine is running, lift the lens slightly off the rail so vibration does not travel straight into it. Raise your shutter speed by about one stop compared with land: if I would use 1/500 for an elephant from the bank, I use 1/1000 from the boat.
Bring a rain cover even in the dry months. Spray, showers and mist all find the front element. A purpose-made cover is ideal; a large clear bag with a hole for the lens and an elastic band does the job. Keep a microfibre cloth in a sealed pocket and a small towel in the bag. The lens hood keeps drizzle off the glass as well as controlling flare.
A long lens also lets you stay where the boat is and still get the frame. The piece on watching elephants at Periyar explains how to read a herd's mood from a distance.
Humidity, condensation and fungus
The Western Ghats are humid for much of the year and close to saturated in the monsoon. Condensation happens when cold gear meets warm, wet air: walk out of an air-conditioned room and the lens fogs at once. Keep the camera in a sealed bag while it warms to outdoor temperature, which takes 20 to 30 minutes, then open it. The packing guide for the Western Ghats covers dry bags and silica gel in more detail.
Fungus is the slower problem. It grows on internal glass and coatings when gear is stored damp and dark for long periods, appearing as fine threads inside the lens, and once established it usually needs professional cleaning. A week's trip rarely causes it alone, but repeated damp storage does.
My end-of-day routine is simple:
- Take the camera and lenses out of the bag, remove caps and hood, and leave them in the driest air available, often an air-conditioned room.
- Open the camera bag, inside out if possible, so the foam dries.
- Wipe body and lens barrels with a dry cloth.
- Pack the gear overnight in a sealed bag with a few sachets of silica gel, and swap sachets whose colour indicator has changed.
- At home, dry everything again before it goes into a cupboard.
Phones and digiscoping
A phone will not replace a long lens for small birds, but it can do more than people expect. Use the optical telephoto lens if your phone has one and avoid heavy digital zoom, which smears detail. Tap on the animal to focus, drag the exposure slider down a little in bright scenes, and use burst mode for anything moving. Phones are also excellent for wide habitat pictures, the lake at dawn or mist in a valley, which often say more about a place than a frame-filling animal.
Digiscoping means photographing through binoculars or a spotting scope with a phone. An adapter that clamps the phone to the eyepiece makes it much easier. Hold the phone's lens right against the eyepiece, centred, and move slowly until the black ring disappears. It suits still subjects such as a kingfisher on a stump or an elephant on the far bank. If you are still choosing binoculars, birding around Thekkady for beginners explains what to look for.
Ethics behind the lens
A wildlife photograph is worth nothing if the animal was disturbed to get it. These are the rules I hold myself to, and they match what reserves and guides ask of visitors.
- No flash on nocturnal animals, and no flash on wildlife in the forest at all. It can dazzle an animal that depends on night vision. On a guided night walk, photograph only what the guide's light allows and never shine your own torch on an animal for a frame.
- No call playback. Recorded calls make a bird think a rival is present, waste its energy and can pull it off a nest.
- No baiting or food, including bread for birds at a lodge or fruit for squirrels.
- If an animal changes what it is doing because of you, you are too close. Back off, and never ask a guide, driver or boatman to move closer for a photograph.
- Do not move branches to see a nest better, and do not linger near one.
- For sensitive species, strip location data before posting and describe the place in general terms.
Starting settings by situation
For a typical recent camera with a stabilised telephoto lens. Adjust for your own gear and the light.
| Situation | Shutter speed | Aperture | ISO | Exposure compensation | Notes |
|---|---|---|---|---|---|
| Perched bird in shade under canopy | 1/250 to 1/500 | Widest | Auto, cap 3200 to 6400 | 0 to +0.7 | Brace well, short bursts |
| Small bird moving in foliage | 1/1000 to 1/2000 | Widest | Auto, cap 6400 or more | 0 to +0.7 | Single point or small zone |
| Bird in flight over lake | 1/2000 or faster | f/5.6 to f/8 | Auto | +0.3 to +1 | Continuous focus |
| Dark bird against bright sky | 1/1000 | Widest | Auto | +1 to +2 | Let the sky go bright |
| Elephant on far shore, from boat | 1/1000 | f/5.6 to f/8 | Auto | -0.3 to -0.7 | Lift lens off a vibrating rail |
| Elephant or gaur filling frame in shade | 1/500 | Widest | Auto | -0.3 to -1 | Watch for grey, flat skin |
| Langurs or macaques active in trees | 1/800 to 1/1000 | Widest | Auto | +0.3 to +1 | Bright sky fools the meter |
| Misty lake at dawn | 1/250 or slower | f/8 | 100 to 400 | +0.3 to +0.7 | Low contrast, shoot raw |
The most useful habit of all is to check one frame, read the histogram, and change one setting before the next shot. In forest light the first frame is usually wrong, the second is closer, and by the third you are photographing the animal instead of fighting the camera.

Rohan Varghese
Rohan photographs forests and the animals in them as a long-running hobby. He writes about cameras in humid weather, packing, ethical viewing and keeping notes in the field.